

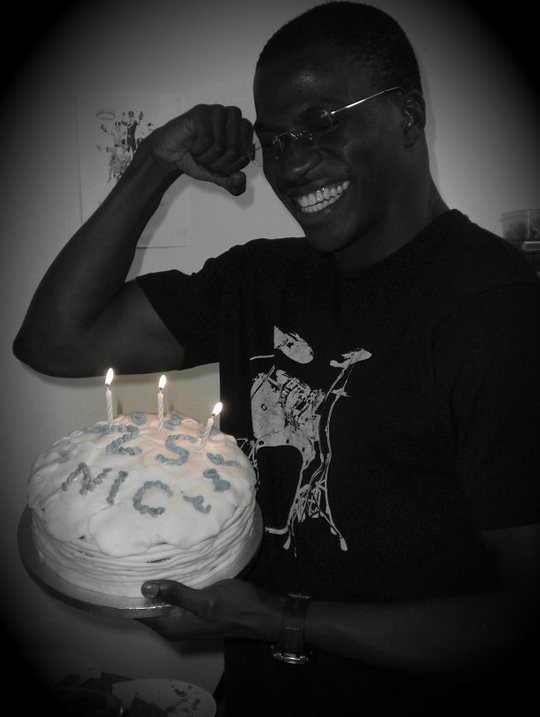
The most special birthday present is a hand-baked birthday cake. I was looking for the most unexpected birthday cake recipe and I came across the rainbow cake by Martha Stewart http://www.marthastewart.com/256688/rainbow-cake
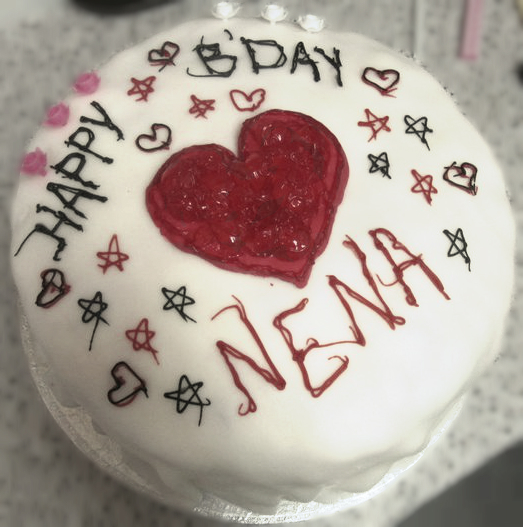
You can find plenty of nice ideas for birthday cake decorations and different flavors but I thought that a rainbow cake is a very nice surprise. My first rainbow cake was for a very dear and special friend of mine. We met at Uni and we became close like family! My first attempt as you can see from the photos above was not the best but it did the trick! The secret of the rainbow cake is to decorate it with white icing so that the rainbows pop out as a surprise after it is cut! Seeing the look on his face was very rewarding. The kids present at his birthday party loved it so much that their mother asked me to bake one for her daughter's birthday and pay me at least 50 pounds for it!
Here is the recipe :)
Ingredients
Vegetable shortening
3 cups all-purpose flour
4 teaspoons baking powder
1/2 teaspoon salt
2 sticks (1 cup) unsalted butter, room temperature
2 1/3 cups sugar
5 large egg whites, room temperature
2 teaspoons pure vanilla extract
1 1/2 cups milk, room temperature
Red, orange, yellow, green, blue, and purple gel food coloring
Directions
- Preheat oven to 350 degrees. Brush six 9-inch-round cake pans (or as many 9-inch cake pans as you have, reusing them as necessary) with shortening. Line bottom of each cake pan with parchment paper; brush again and set aside.
- In a large bowl, whisk together flour, baking powder and salt; set aside. In the bowl of an electric mixer fitted with the paddle attachment, cream together butter and sugar. Slowly add egg whites and mix until well combined. Add vanilla and mix until fully incorporated. Add flour mixture and milk in two alternating additions, beginning with the flour and ending with the milk. Mix until well combined.
- Divide batter evenly between six medium bowls. Add enough of each color of food coloring to each bowl, whisking, until desired shade is reached. Transfer each color to an individual cake pan. Transfer to oven and bake until a cake tester inserted into the center of each cake comes out clean, about 15 minutes (working in batches if necessary).
- Remove cakes from oven and transfer to a wire rack; let cool for 10 minutes. Invert cakes onto a wire rack; re-invert and let cool completely.
- Using a serrated knife, trim tops of cakes to make level. Place four strips of parchment paper around perimeter of a serving plate or lazy Susan. Place the purple layer on the cake plate. Spread a scant 1 cup buttercream filling over the first layer with a small offset spatula so it extends just beyond edges. Repeat process with blue, green, yellow, and orange layers.
- Place the remaining red layer on top, bottom-side up. Gently sweep away any loose crumbs with a pastry brush. Using an offset spatula, cover the top and sides with a thin layer of frosting (also use any of the excess frosting visible between the layers). Refrigerate until set, about 30 minutes.
- Using an offset spatula, cover cake again with remaining frosting.
After my first attempt I realized that the secret of this recipe is in putting it in the fridge or freezer after adding every filling layer and letting it cool for half an hour. This way it manages to stay taller and maintain its nice shape.


0 comments:
Post a Comment